How to Install a Pet Car Seat on the Back Seat
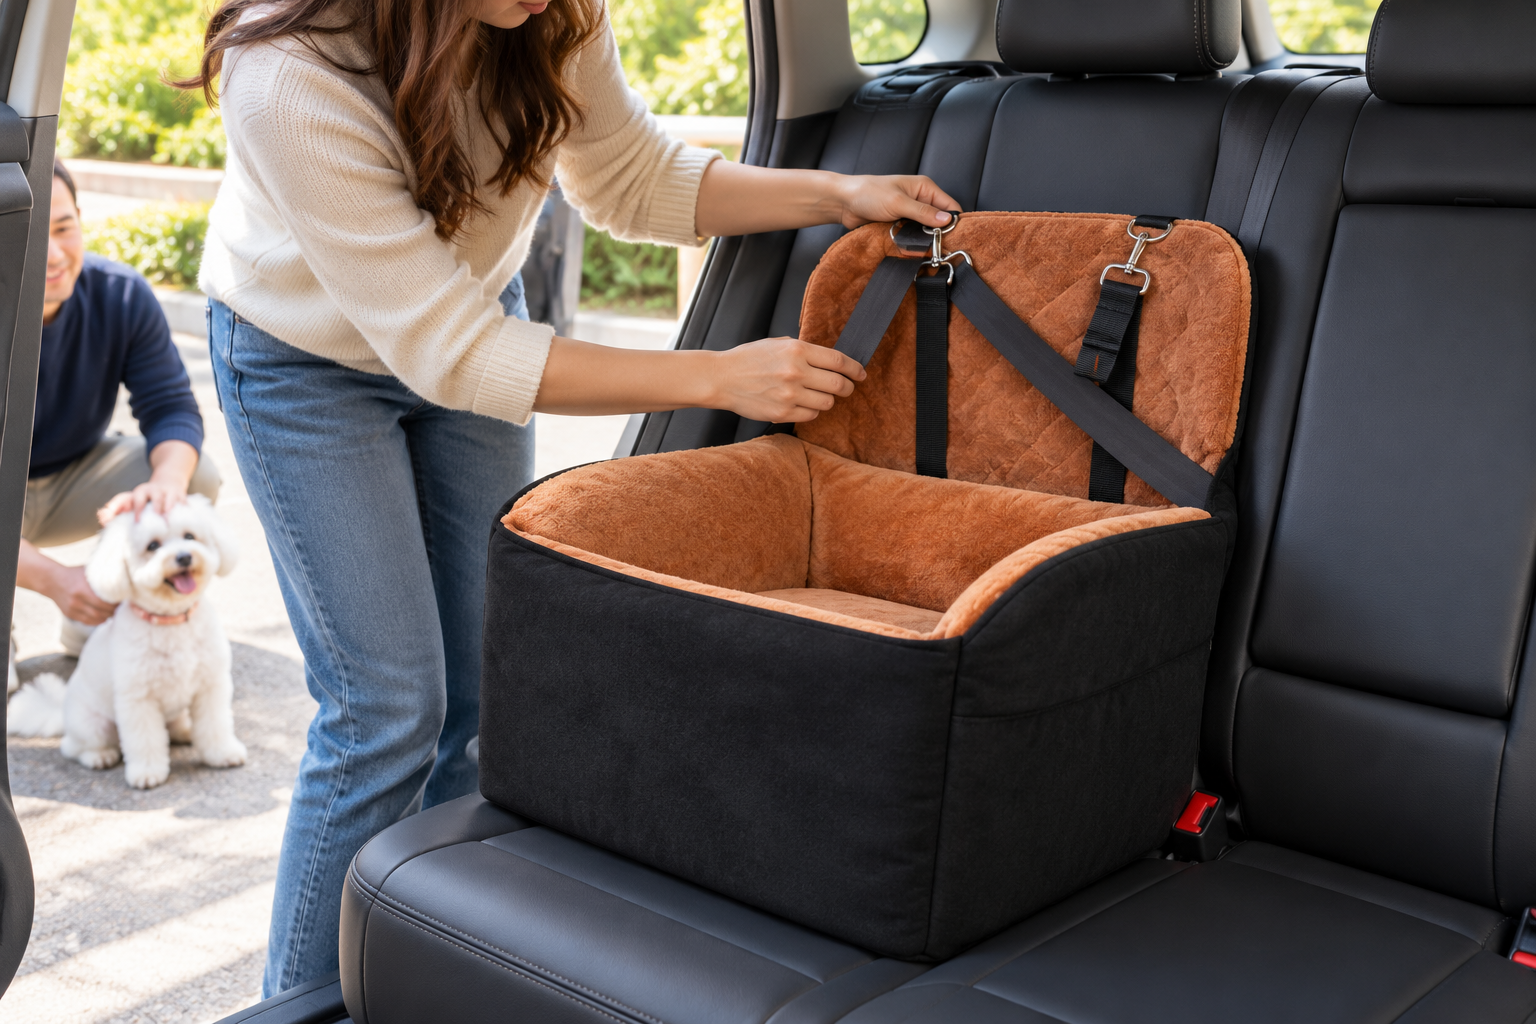
AI-generated scene using a Rofamily product reference. Illustrative, not an installation or crash-test demonstration.
Install a pet car seat using its exact model instructions and your vehicle’s manual. Secure the bed through approved attachment points, check that it stays in place and distinguish bed positioning from a crash-tested dog restraint.
In this guide
Read the instructions before threading anything
Pet car seats can look similar and still use different attachment routes. Start with the instructions supplied with your exact model. Identify the seat belt channel, headrest strap and any fittings before putting the dog in the vehicle.
Your vehicle manual matters too. Headrest shapes, seat belt geometry and seating arrangements vary. A strap route shown in a marketing photo is not a substitute for compatibility instructions. If the correct route is unclear, stop and request a diagram from the supplier.
Set up with the vehicle parked
Park securely and make the cabin comfortable. Place the empty bed on the intended seat, with its base supported by the vehicle cushion. Keep passenger belt buckles accessible and avoid covering controls or blocking the driver’s view.
Use the vehicle belt and headrest strap only as directed. Remove slack without crushing the foam or distorting the walls. Check for twisted webbing, partly closed buckles and sharp edges that could rub a strap. A belt that appears fastened still needs its correct route checked.
Check the bed before adding your dog
Gently check the installed bed for unwanted movement in the way described by the manufacturer. An anti-slip base is helpful for everyday positioning, but friction alone is not evidence of crash protection.
If the bed tips, slides significantly or overhangs the supporting seat, revisit the fit. Do not solve a poor fit with improvised cords or extra extension straps. Confirm the intended configuration with the supplier instead.
Understand what the included tether does
An included pet tether may help limit everyday wandering within the bed. It should attach to a properly fitted harness, never a collar, and must not leave loose loops that can catch a limb. It is not automatically a crash-tested restraint.
For collision protection, investigate independently tested equipment and its exact installation requirements. A separate tested harness is only suitable in a bed if that combination is permitted by the harness manufacturer. Extra height or an added tether can change the way a system performs.
Practise before the first proper trip
Introduce your dog to the parked setup in short, supervised sessions. Check that they can settle without becoming tangled and that no attachment rubs their skin. Recheck the installation whenever the bed is moved or the cover is removed.
Before driving, secure loose luggage and make sure the driver can focus on the road. Comfort improves the travel experience; it does not replace suitable restraint equipment. Rofamily can provide model-specific attachment information on request.
Common questions
Can I attach the tether to a collar?
No. Use a correctly fitted harness as instructed; this still does not establish crash protection.
Can I add an extension strap?
Do not add unapproved extensions or adapters. Follow the equipment manufacturer’s tested configuration.
Further reading
- Center for Pet Safety: independently tested travel products ↗
- Center for Pet Safety: extension tether advisory ↗
These sources support general guidance. They do not endorse Rofamily or establish the performance of its products. Article text is newly written for this website.
General product and travel education. For health concerns, ask your veterinarian. Follow the exact instructions for your vehicle and travel equipment.